Friday, December 27, 2013
 Hardwood stairs l installed a carpet runner on. This is a set of waterfall stairs l did in Queen Anne. This particular type of stair installation is know as "waterfall stairs". The side of the carpet was bound prior to me installing the stair carpet. In this case l came and measured the stairs for carpet. Then head one of the shops l get carpet from order the correct size carpet with the edges bound.
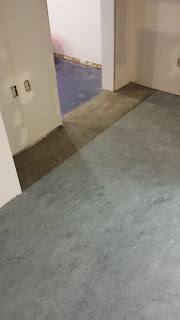
 Here is a bathroom l just finished in West Seattle. This substrate needed alot of floor prep prior to the marmoleum installation. 8 hours worth of floor prep. Reason- the contractor elected to just pour self leveler and not trowel the self leveler once the floor had been poured. If self leveling concrete isn't smoothed out the rocks in it end up creating high points. I in turn then have to float out those high points in order to prevent bumps and peaks in the substrate. Marmoleum will telegraph any imperfection in the floor once the adhesive bonds the marmoleum to the substrate. Thus it is crucial l get the substrate as flat as possible. So if you or your contractor uses self leveling concrete be sure to trowel the lever a little bit to ensure the rocks in it are below the surface once it's cured and hard. Try to eliminate any high spots or bumps while you trowel the self leveler. This makes a huge difference in the amount of time l have to spend prepping the substrate prior to the marmoleum installation.
 Thursday, December 19, 2013
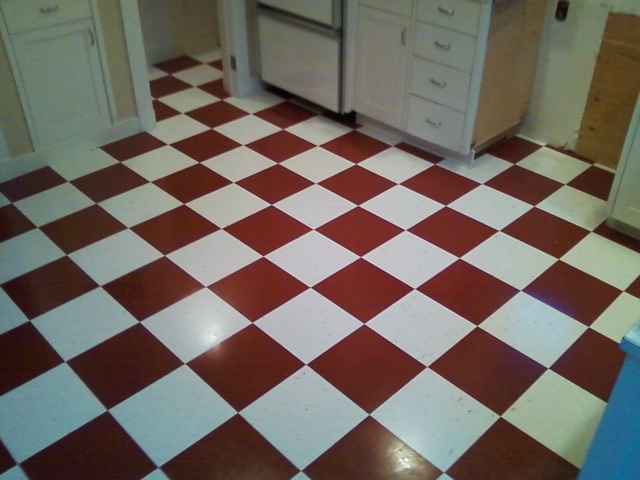
 Here is another kitchen, bathroom and closet l did in marmoleum. Some of these photos show how l am able to install marmoleum around posts and make the hand scribed seams nearly invisible. The kitchen with the post has multiple seams in it. The bathroom has 1. Closet none. For this project l asked the client for 32 feet of marmoleum. Unfortunately for him he elected to purchase remnants that equalled 32 feet. Bad idea...unless you specifically want a different color. In t his case it's cause he didn't know that even though the marmoleum appears to be the same color...they are not. So....at this point in the project rather them get the correct amount of feet in the same color the client elected to have me install it. Came out great aside from the different colors. So if you are considering getting remnant pieces..make sure they are off of the same roll. Otherwise you to will run into the same problem.
Saturday, March 23, 2013
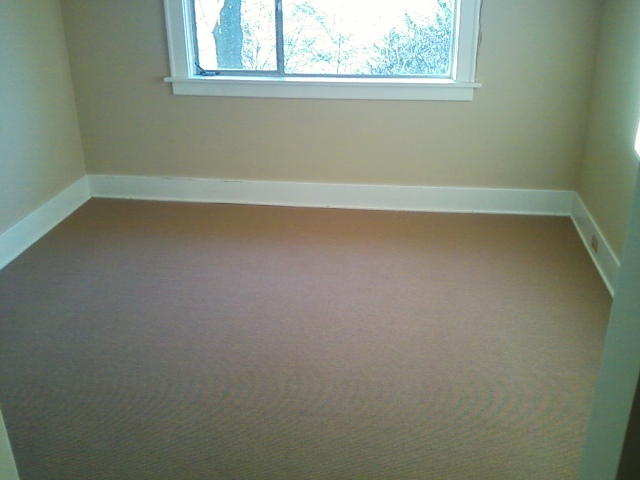
So here are some more photos of the job I did in Fauntleroy. In these photos you can see how long of a carpet stretch I had to do between both bedrooms downstairs. This house has two bedrooms upstairs and two bedrooms downstairs, plus two hallways. In my previous post you can see the detailed work I did with the bullnose stairs. I am very happy with the way this job turned out, This particular type of carpet is know as a "berber". Underneath the berber carpet I used an extra thick 8# pad which really made a difference in how the carpet feels when you walk, sit or lay on top of it. This 8 pound pad is thicker then the normal 8 pound foam pad I usually use. And the only reason I used it was because the 8 pound pad I had ordered for this job didn't show up when I picked up my order. As a result the company gave me the thicker 8 pound pad.What a difference it made! Even better the cost for the thicker 8 pound pad was very minimal compared to the normal 8 pound pad most flooring stores sell me. I highly recommend you look into a thicker 8 pound pad before you move up to a more expensive pad like "tripple touch, or healthy choice pad". The difference in price is significant...over $3.00 a yard you can save, which adds up quickly.
Subscribe to:
Comments (Atom)


