Tuesday, January 1, 2013
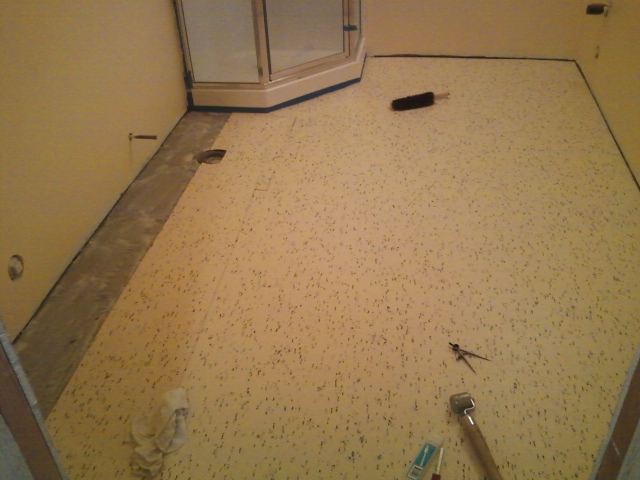
This is a 900 square foot job of laminate flooring. This particular laminate is made by "mohawk". In the first photo you can see the pad we install underneath the laminate. In the following pictures you can see my attention to detail around all the door jams, corners, hall and around the fireplace. This job had several door jams, closets, and transitions. The last photo shows my transition work in a closet and up to tile in the dining room.
Here are two different bathrooms I did in the same home with marmoleum. The first two pictures show the process with floor prep. In the first picture the subfloor is floated with webcrete. This is called a "skim coat", and is done to fill in the seams, nail/screw/staple holes. After is dries, about 25 minuets, the marmoleum can be installed over the top. Both of these bathrooms had the marmoleum installed right up to the hardwood/door transitions.
Saturday, December 29, 2012
Here is a two piece hand scribed marmoleum seam I did in a bathroom this past week. In the first photo you can see the area of marmoleum I need to put the fill piece in. In the second photo you can see the result of me hand scribing the marmoleum to fit perfectly to complete this two piece seam/fill.
Saturday, November 24, 2012
Marmoleum project- Here is an example of some of my custom marmoleum work. There are 3 different colors of marmoleum in the photograph, gray, tan and yellow. The yellow is marmoleum tiles, the gray and tan are marmoleum sheet goods. The circle with diamond inlay, as well as the tan border piece with a mitered corner were all scribed. The point where the tan border meets to form a square is a mitered corner. I did this work in a marmoleum class in Reno Neveda in February 2011.
Wednesday, November 14, 2012
Here is a staircase I did. These particular stairs are know as bullnose stairs. Bullnose is a term used to describe the lip that is formed around the tread of the stair. The look really accentuates the look of the stair. The two stairs in the middle are "pie stairs". The side of the stairs under the railing are called "side wraps". In this set of side wrapped stairs you can see how this process covers the side of each stair.
Subscribe to:
Posts (Atom)